ADVERTISEMENT
**Instructions**:
1. **Crush the Butterfinger Bars**:
– Unwrap the Butterfinger bars and place them in a large plastic bag or bowl. Use a rolling pin or mallet to crush the candy into small, bite-sized pieces. You want small, crunchy bits, so take your time to break them down well.
2. **Make the Peanut Butter Mixture**:
– In a mixing bowl, combine the creamy peanut butter, softened butter, and powdered sugar. Stir everything together until smooth and fully combined. The mixture should be thick enough to form into balls but still pliable.
3. **Add the Crushed Butterfingers**:
– Stir the crushed Butterfinger pieces into the peanut butter mixture until they are evenly distributed. You should have a thick, dough-like consistency at this point.
4. **Form the Balls**:
– Use your hands to roll the peanut butter mixture into small balls, about 1 inch in diameter. Place them on a baking sheet or tray lined with parchment paper. Once all the balls are rolled, chill them in the refrigerator for 30 minutes to an hour, allowing them to firm up.
5. **Melt the Chocolate**:
– While the peanut butter balls chill, melt the chocolate chips. You can do this by placing the chips in a microwave-safe bowl and microwaving in 30-second intervals, stirring in between, until the chocolate is completely smooth and melted. Alternatively, you can melt the chocolate using a double boiler.
6. **Dip the Balls in Chocolate**:
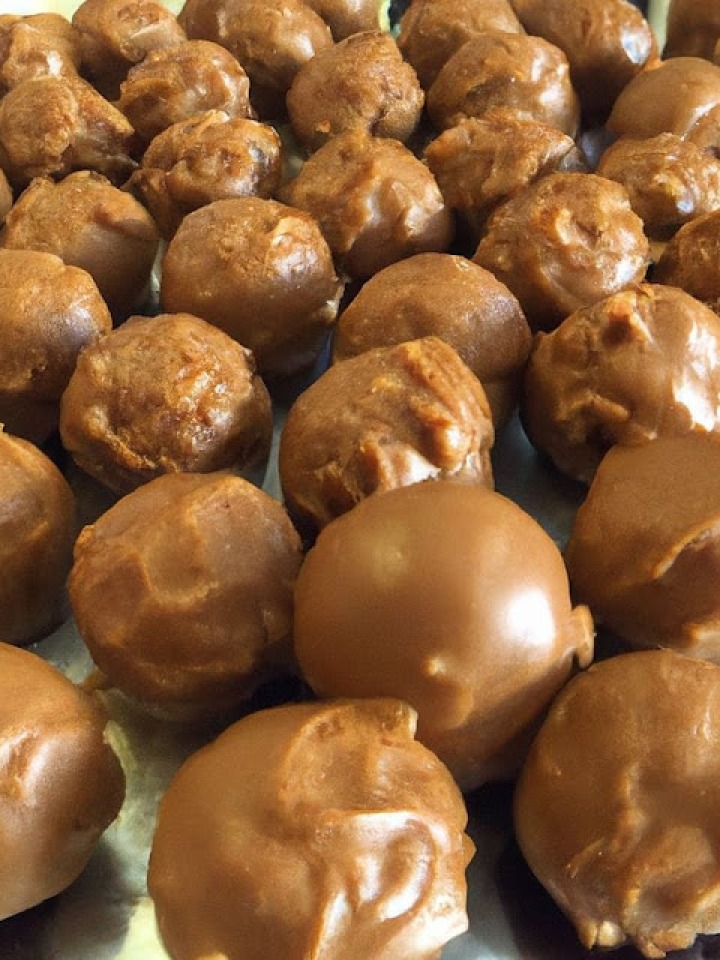
– Once the peanut butter balls are firm, take them out of the fridge. Using a fork or toothpick, dip each ball into the melted chocolate, ensuring it’s completely covered. Allow the excess chocolate to drip off before placing the dipped ball back onto the parchment-lined tray.
7. **Optional Toppings**:
– If desired, sprinkle crushed peanuts, a pinch of sea salt, or additional crushed Butterfingers on top of the chocolate-covered balls for extra flavor and texture.
8. **Chill and Serve**:
– Once all the balls are coated in chocolate, return them to the fridge for another 30 minutes to allow the chocolate to harden. Once set, serve and enjoy!
#### Why You’ll Love Butterfinger Balls
There’s no denying it—**Butterfinger Balls** are a treat that everyone can enjoy. The combination of **crispy, peanut-buttery crunch** from the crushed Butterfingers, the **smooth, creamy peanut butter center**, and the **rich chocolate coating** creates a satisfying bite that’s both sweet and slightly salty. Whether you’re a fan of Butterfingers or just love chocolate and peanut butter, these little bites are sure to become a favorite indulgence.
These no-bake treats are perfect for sharing with friends, taking to parties, or giving as homemade gifts. They’re also incredibly easy to store in an airtight container, so you can enjoy them over several days—or eat them all in one sitting!
#### Customization Tips
– **Add More Crunch**: For extra texture, try adding chopped peanuts to the peanut butter mixture, or top the balls with extra crushed candy or nuts.
– **Use White Chocolate**: If you prefer a different kind of chocolate, swap the milk or semi-sweet chocolate for **white chocolate chips** for a different flavor.
– **Make Mini-Bites**: Roll the balls smaller for mini versions that are perfect for bite-sized snacks.
#### Conclusion
**Butterfinger Balls** are the ultimate no-bake dessert for anyone who loves the irresistible combination of peanut butter, chocolate, and crunchy candy. With just a few simple ingredients, you can create a batch of these delicious treats in no time. Whether you’re looking for a quick snack, a party treat, or a sweet gift, **Butterfinger Balls** are sure to impress and satisfy your sweet tooth. Make them today and enjoy a taste of nostalgia with a modern twist!
ADVERTISEMENT
