ADVERTISEMENT
### Instructions for Making Semolina Bread
#### **Step 1: Activate the Yeast**
1. In a small bowl, combine the **warm water**, **sugar**, and **yeast**. Stir gently and let it sit for about 5 minutes, or until the mixture becomes frothy and bubbly. This step ensures that your yeast is active and ready to help the dough rise.
#### **Step 2: Mix the Dry Ingredients**
1. In a large mixing bowl, combine the **semolina flour**, **all-purpose flour**, and **salt**. Whisk the ingredients together to ensure they’re evenly mixed.
#### **Step 3: Combine Wet and Dry Ingredients**
1. Once your yeast mixture is bubbly, add it to the flour mixture, along with the **olive oil** (if using) and **honey** (if using). Stir everything together until a rough dough forms.
#### **Step 4: Knead the Dough**
1. Transfer the dough onto a lightly floured surface and knead for about 8–10 minutes, or until the dough is smooth, elastic, and slightly tacky. Add a little more flour if necessary, but be careful not to add too much as semolina flour is coarser than all-purpose flour and will make the dough denser.
2. Alternatively, you can use a stand mixer fitted with a dough hook. Mix on low speed for 6–8 minutes until the dough is smooth and elastic.
#### **Step 5: First Rise**
1. Shape the dough into a ball and place it in a lightly oiled bowl. Cover it with a damp towel or plastic wrap and let it rise in a warm, draft-free place for about **1 hour**, or until it has doubled in size.
#### **Step 6: Shape the Dough**
1. After the dough has risen, punch it down gently to release the air. Turn the dough out onto a floured surface and shape it into a round or oval loaf, depending on your preference.
2. If you want to bake it in a loaf pan, simply shape it into a rectangle that fits your pan.
#### **Step 7: Second Rise**
1. Place the shaped dough onto a baking sheet lined with parchment paper, or into a greased loaf pan. Cover it with a cloth and let it rise again for about **30 minutes**, or until it puffs up a bit.
2. If desired, sprinkle the top of the dough with a little **cornmeal** for a rustic look and extra crunch.
#### **Step 8: Bake the Bread**
1. Preheat your oven to **375°F (190°C)**. Once the dough has finished rising, transfer it to the oven and bake for **30–35 minutes**, or until the bread is golden brown on top and sounds hollow when tapped on the bottom.
2. If you’re making a round loaf, you may want to rotate it halfway through baking for even browning.
#### **Step 9: Cool and Serve**
1. Remove the bread from the oven and allow it to cool on a wire rack for at least 20 minutes before slicing. This step allows the bread to finish setting and makes it easier to slice.
2. Slice and serve your semolina bread warm or at room temperature. Enjoy it with butter, olive oil, or your favorite spreads.
### Tips for Perfect Semolina Bread
– **Use Fine Semolina Flour**: For the best texture and softness, choose fine semolina flour. Medium or coarse semolina may produce a denser bread.
– **Be Patient with Rising**: Allowing your dough enough time to rise is key to achieving that light, airy texture. Don’t rush the process—let the yeast work its magic!
– **Test for Doneness**: To check if the bread is fully baked, tap the bottom of the loaf. If it sounds hollow, it’s done. If it sounds dull, return it to the oven for a few more minutes.
– **Add Herbs or Spices**: For extra flavor, consider mixing in some dried herbs (like rosemary or thyme) or spices (like garlic powder or cumin) into the dough before the first rise.
– **Storage**: Semolina bread is best enjoyed fresh, but it will stay soft for a couple of days when stored in an airtight container. You can also freeze the bread for longer storage.
### Why You’ll Love Semolina Bread
1. **Nutty, Flavorful**: The semolina flour adds a subtle, nutty flavor that elevates the bread, making it more interesting than regular white bread.
2. **Soft and Chewy Texture**: With a tender crumb and slightly chewy texture, this bread is incredibly satisfying to eat. It’s the perfect base for a variety of toppings, from creamy cheeses to savory spreads.
3. **Perfect for Any Meal**: Whether you’re using it for sandwiches, serving it with soups and stews, or enjoying it on its own, semolina bread is a versatile and delicious addition to any meal.
4. **Simple and Homemade**: Unlike store-bought bread, homemade semolina bread is free from preservatives and artificial additives. It’s a wholesome, comforting option that’s easy to make at home.
### Conclusion
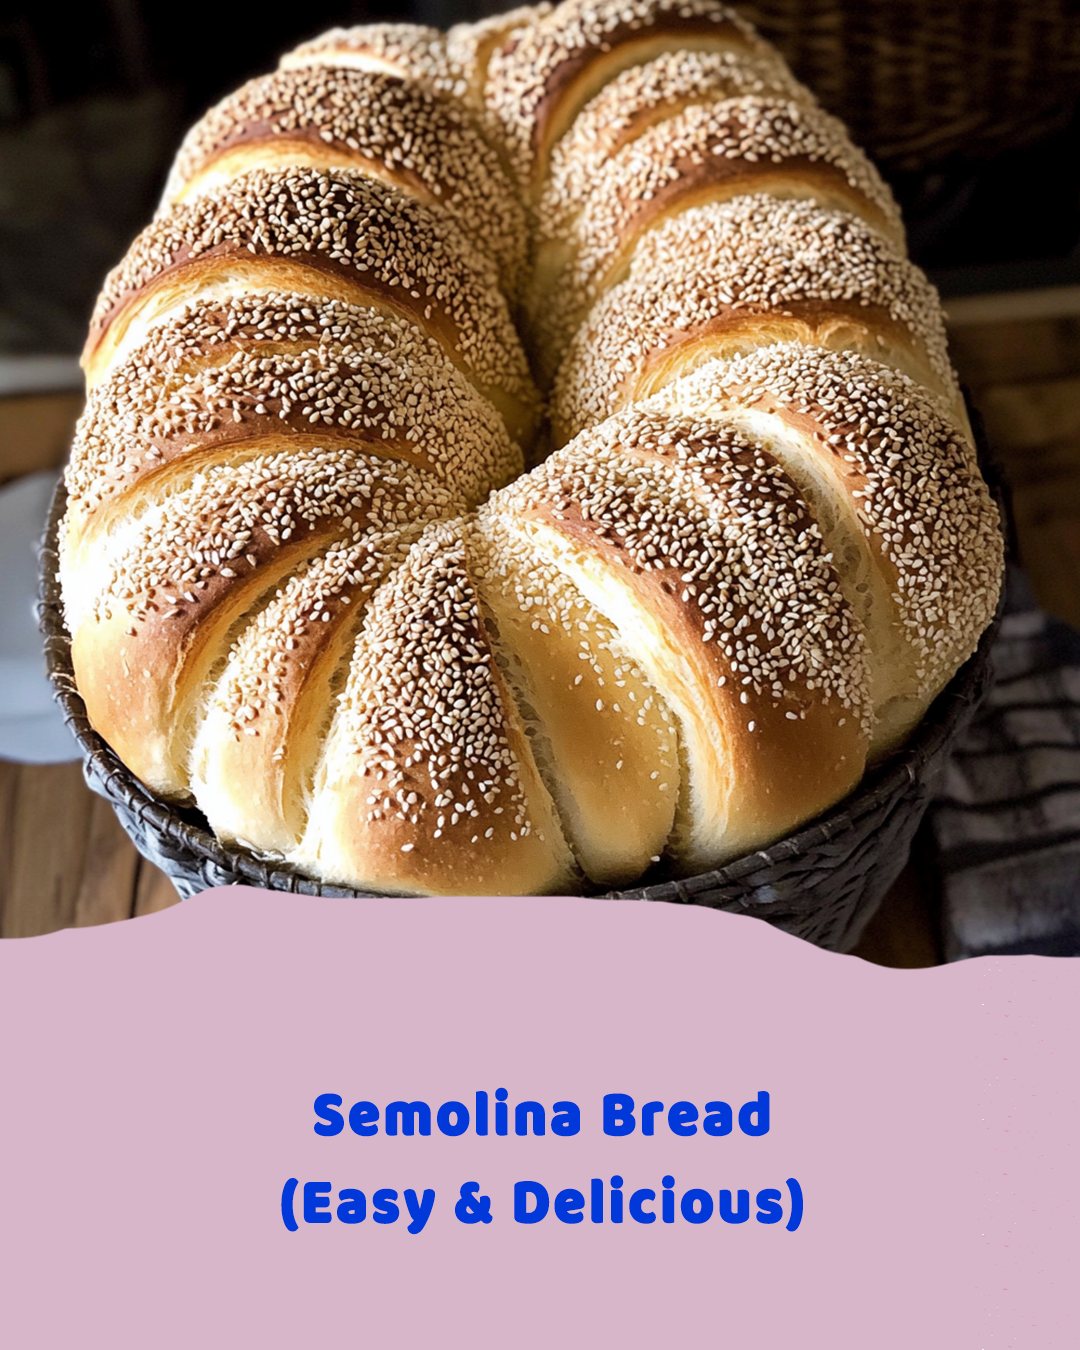
**Semolina Bread** is the perfect balance of simplicity, flavor, and texture. The nutty taste of semolina flour, paired with its soft, slightly chewy crumb, makes this bread a standout choice for any bread lover. Whether you’re a baking novice or a seasoned pro, this easy recipe will help you make a bakery-quality loaf at home.
So, the next time you’re craving fresh, homemade bread, try **Semolina Bread**. It’s guaranteed to impress, whether you’re serving it with dinner, making a sandwich, or simply enjoying it with a bit of butter. Happy baking!
ADVERTISEMENT
