ADVERTISEMENT
**Step 3: Knead the Dough**
Transfer the dough to a lightly floured surface and knead it for about 8-10 minutes. The dough should become smooth and elastic. If it’s too sticky, sprinkle in a little more flour; if it’s too dry, add a splash of water.
Once the dough is kneaded, incorporate the **chopped olives** and **rosemary** (if using). Gently fold them into the dough until evenly distributed.
**Step 4: Let the Dough Rise**
Place the dough in a greased bowl, cover it with a damp towel, and let it rise in a warm place for about 1-1.5 hours, or until it has doubled in size. You can place the bowl in your oven with the light on to create a warm environment.
**Step 5: Shape the Rolls**
Once the dough has risen, punch it down gently to release any air bubbles. Transfer the dough to a floured surface and divide it into 8-10 equal portions. Shape each portion into a ball and place the rolls on a greased baking sheet, leaving some space between each one.
**Step 6: Second Rise**
Cover the rolls with a damp cloth or plastic wrap and let them rise for an additional 30-45 minutes, until they puff up.
**Step 7: Bake the Rolls**
Preheat your oven to 375°F (190°C). Once the rolls have risen, place them in the oven and bake for 20-25 minutes, or until they are golden brown on top and sound hollow when tapped on the bottom.
**Step 8: Cool and Serve**
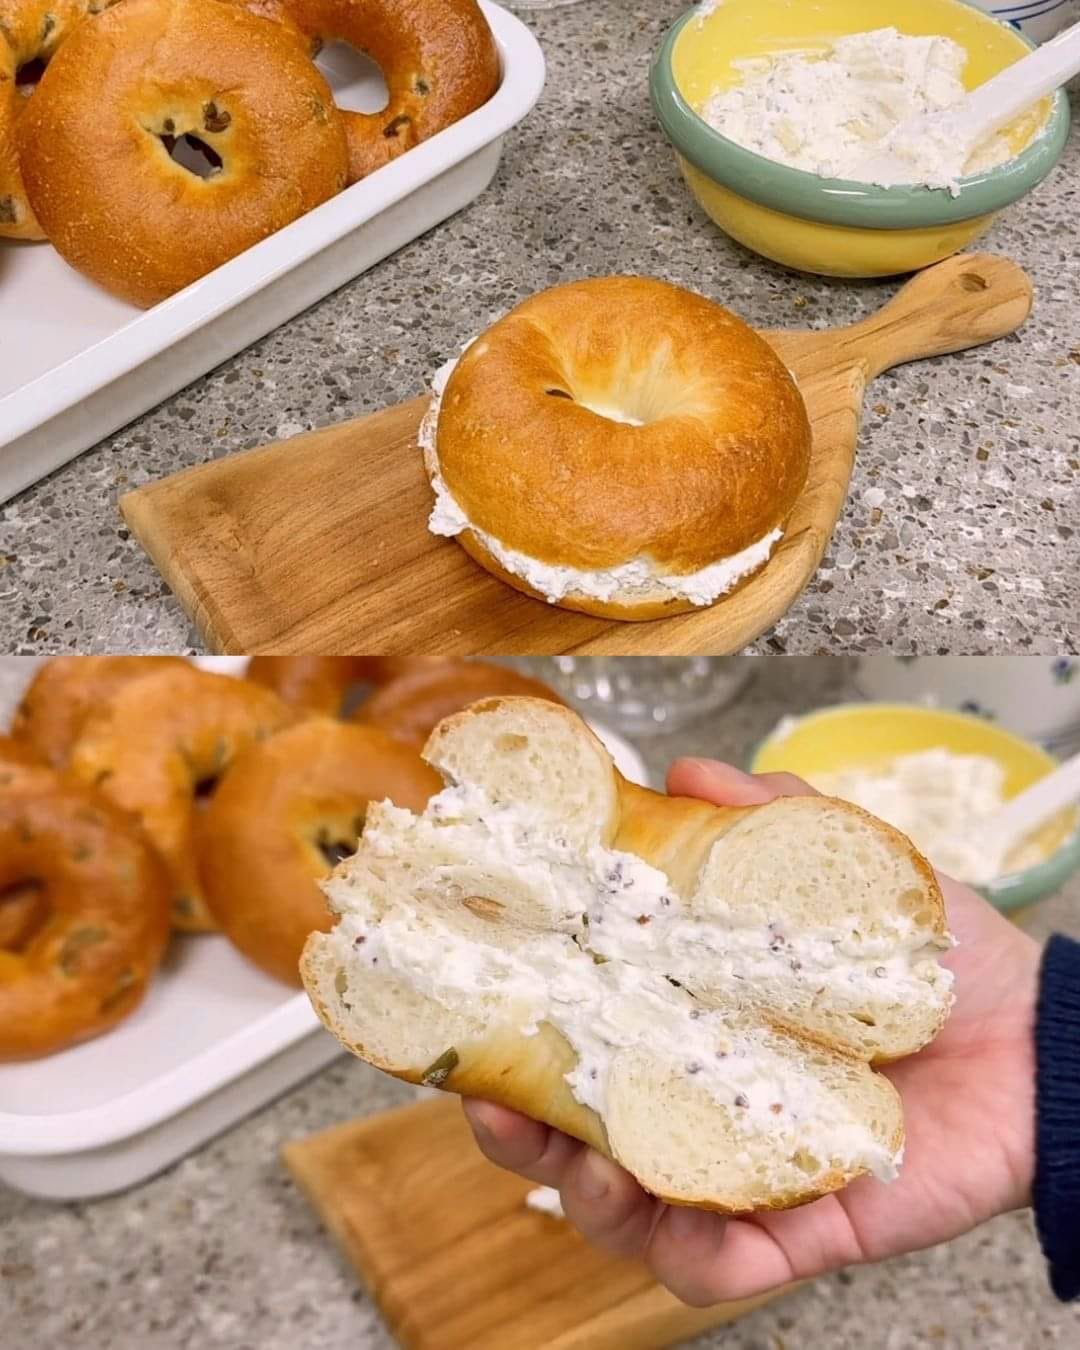
Remove the rolls from the oven and allow them to cool on a wire rack. Serve them warm with a bit of butter, or use them as the base for a Mediterranean sandwich.
### Tips for Perfect Rustic Olive Bread Rolls
– **Use high-quality olives**: The olives are the star of the dish, so opt for good-quality olives. Kalamata olives add a rich, tangy flavor, while green olives are milder. You can also use a mix of both for variety.
– **Add more herbs**: Experiment with other herbs such as thyme, oregano, or basil to customize the flavor of your bread rolls. Fresh herbs work best, but you can use dried herbs as well.
– **Try different flours**: If you want a denser, heartier texture, you can substitute some of the all-purpose flour with whole wheat flour or even spelt flour. Just keep in mind that it may alter the texture and rise slightly.
– **Storage**: These rolls are best enjoyed fresh out of the oven, but they will keep for 2-3 days at room temperature in an airtight container. If you want to store them for longer, you can freeze them. Simply place the cooled rolls in a zip-top bag and freeze for up to 3 months. Reheat in the oven to refresh them.
– **For extra crispness**: If you love a crunchy crust, place a small dish of water at the bottom of the oven while baking to create steam. This will help the rolls develop a crisp, bakery-style crust.
### Serving Suggestions
These **Rustic Olive Bread Rolls** are incredibly versatile and pair well with a variety of dishes. Here are a few ideas for serving:
– **With Mediterranean dishes**: Serve these rolls alongside hummus, tzatziki, baba ganoush, or a fresh Greek salad. They’re the perfect accompaniment to any Mediterranean-inspired meal.
– **For a Sandwich**: Slice the rolls and fill them with roasted vegetables, grilled chicken, or even a piece of fried eggplant for a light, flavorful sandwich.
– **With Soup or Stew**: These rolls are fantastic when served with warm, hearty soups or stews. Try them with a bowl of tomato soup, lentil stew, or a classic minestrone.
– **As a Snack**: Enjoy these rolls as a snack on their own, with a bit of olive oil for dipping or a smear of butter.
### Why You’ll Keep Making Rustic Olive Bread Rolls
These **Rustic Olive Bread Rolls** are the perfect combination of simplicity and flavor. The olives add a savory, briny touch to the soft, rustic bread, making them a perfect addition to any meal. Whether you’re serving them at a family dinner, as a snack, or at a gathering, they are sure to be a crowd-pleaser. Best of all, they’re easy to make and customizable to suit your taste preferences.
Give these rolls a try today, and you’ll find that homemade bread has never been so satisfying!
ADVERTISEMENT
