ADVERTISEMENT
### Instructions
#### 1. Activate the Yeast
Begin by activating your yeast. In a small bowl, combine the warm milk and sugar. Stir until the sugar dissolves, and then add the yeast. Let the mixture sit for about 5-10 minutes until it becomes frothy and bubbly. This means the yeast is active and ready to work.
#### 2. Mix the Dough
In a large mixing bowl, combine the flour and salt. Create a well in the center and pour in the activated yeast mixture, egg, softened butter, and vanilla extract. Use a spoon or spatula to stir until a dough begins to form. Once the dough starts to come together, you can turn it out onto a floured surface.
#### 3. Knead the Dough
Knead the dough for about 8-10 minutes, or until it becomes smooth and elastic. If the dough is too sticky, sprinkle a little more flour, but be careful not to add too much, as you want the dough to remain soft. If you’re using a stand mixer, you can knead the dough with the dough hook for about 5-7 minutes.
#### 4. First Rise
Place the dough in a lightly greased bowl, cover it with a clean kitchen towel or plastic wrap, and allow it to rise in a warm place for about 1 to 1 ½ hours, or until it has doubled in size.
#### 5. Shape the Dough
Once the dough has risen, punch it down gently to release the air. Turn it out onto a floured surface and divide it into 10-12 equal pieces. Shape each piece into a round ball or oval shape. If you prefer, you can also roll the dough into a log shape and slice it into small rounds. Arrange the shaped dough on a greased baking tray or in a round cake pan, leaving some space between each piece for expansion.
#### 6. Second Rise
Cover the shaped dough with a towel and allow it to rise again for 30-45 minutes, or until the rolls have puffed up and filled the spaces between them.
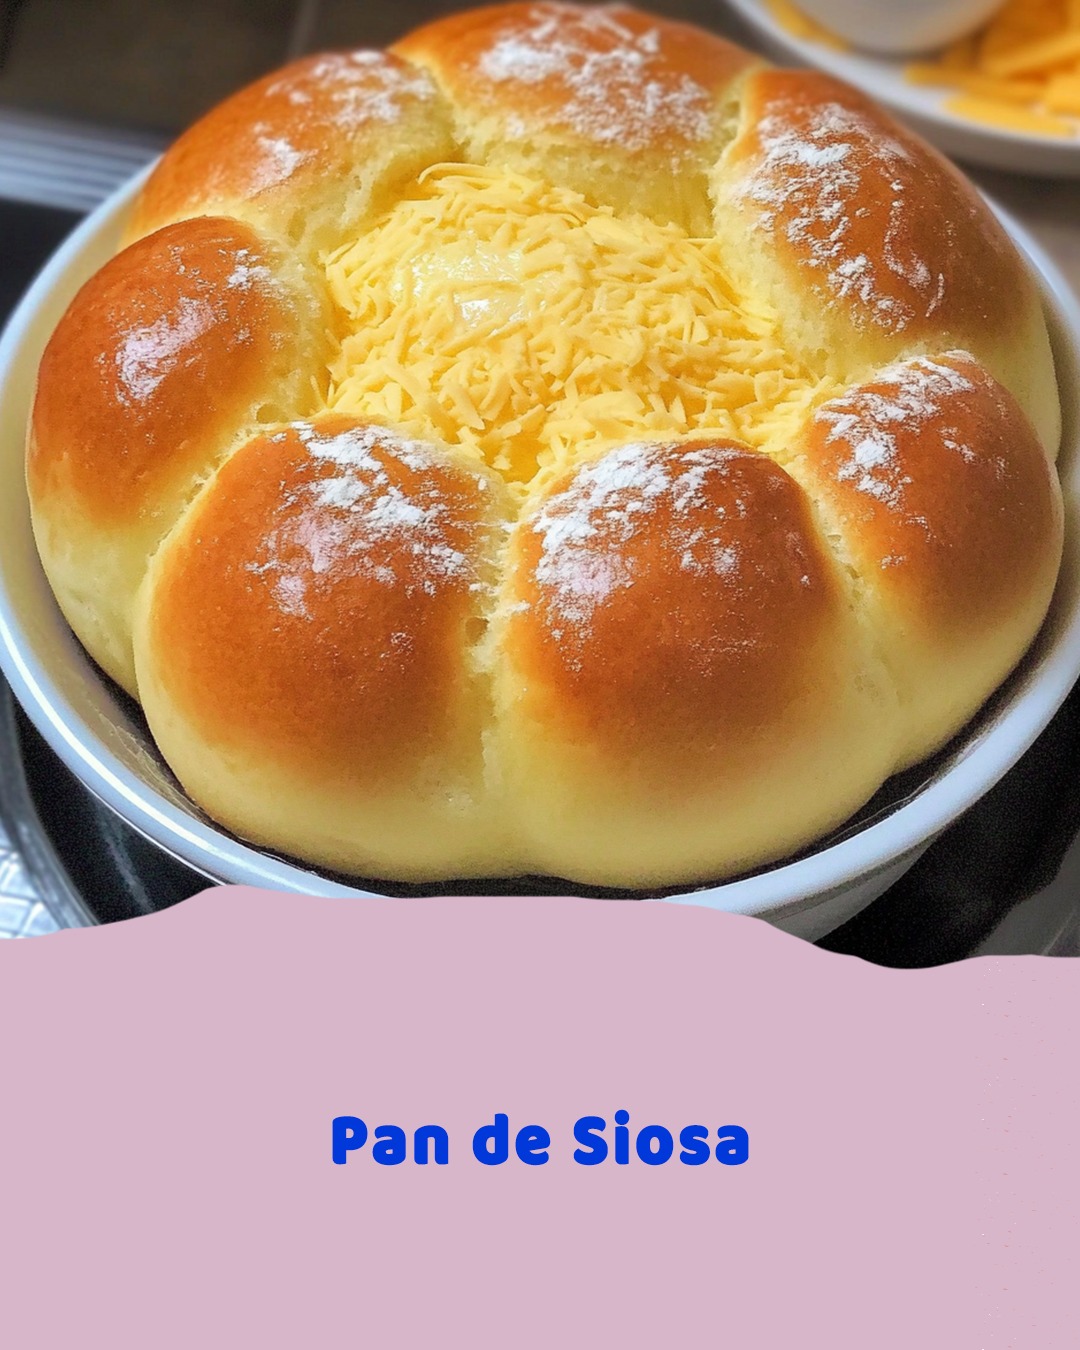
#### 7. Bake the Pan de Siosa
Preheat your oven to 350°F (175°C). Bake the dough for 15-20 minutes or until the tops are golden brown. If you want to make the rolls extra soft, you can brush the tops with melted butter as soon as they come out of the oven.
#### 8. Serve and Enjoy
Let the **Pan de Siosa** cool slightly before serving. These sweet rolls are best enjoyed fresh but can be stored in an airtight container for up to 2-3 days. Serve them warm with a cup of coffee, hot chocolate, or even as a snack on their own.
### Tips for Perfect Pan de Siosa
– **Use Room Temperature Ingredients**: For the best results, make sure your butter and egg are at room temperature. This ensures that the dough comes together smoothly and that the bread rises evenly.
– **Don’t Rush the Rising Time**: Let the dough rise for the full time recommended in the recipe to achieve the light and fluffy texture that makes **Pan de Siosa** so irresistible. Be patient, as it will pay off in the end!
– **Add a Topping**: Some variations of **Pan de Siosa** include a sprinkle of sugar or a drizzle of honey on top of the bread before baking, adding an extra touch of sweetness.
– **Experiment with Fillings**: If you want to get creative, you can fill **Pan de Siosa** with sweet fillings like chocolate, jam, or even sweetened coconut before baking. This turns the bread into a fun, dessert-like treat!
### Why You’ll Love Pan de Siosa
There’s a lot to love about **Pan de Siosa**. Here are a few reasons why it’s such a favorite:
– **Soft and Fluffy**: The bread is delightfully soft and airy, making it a treat for the senses.
– **Mildly Sweet**: The subtle sweetness makes it versatile—perfect for pairing with coffee or tea or enjoying on its own.
– **Perfect for Any Time of Day**: Whether you enjoy it for breakfast, as an afternoon snack, or as part of a meal, **Pan de Siosa** is perfect for any time of day.
– **Homemade Comfort**: There’s something special about homemade bread, and this recipe brings that warm, comforting feeling to your kitchen with every bite.
### Final Thoughts
**Pan de Siosa** is more than just a bread; it’s a symbol of Filipino hospitality and warmth. The soft, sweet texture paired with the rich buttery flavor makes it the perfect treat for sharing with loved ones. With this recipe, you can recreate this Filipino favorite in your own kitchen, filling your home with the comforting aroma of freshly baked bread.
So, the next time you’re craving something comforting and sweet, try making **Pan de Siosa**—a delicious Filipino bread that’s sure to satisfy your sweet tooth and bring a touch of Filipino flavor to your table.
ADVERTISEMENT
